Dial Indicators Samyon
Quick Guide to Reading a Dial Indicator Easily
A dial indicator is one of the most common tools in the mechanical industry, often used to check straightness, flatness, concentricity, or parallelism of components. For beginners, handling and reading a dial indicator can sometimes be challenging. This article will share how to use and read results in a simple, easy-to-understand way, helping you quickly get familiar with the tool.
How to Use a Dial Indicator in Practice
A dial indicator can be mounted on various stands to serve different measuring purposes. For instance, when checking the flatness or parallelism of a component, the technician places the indicator in contact with the surface and sweeps it across. If the needle deviates, it indicates the surface is not within tolerance and needs further machining to ensure uniformity.
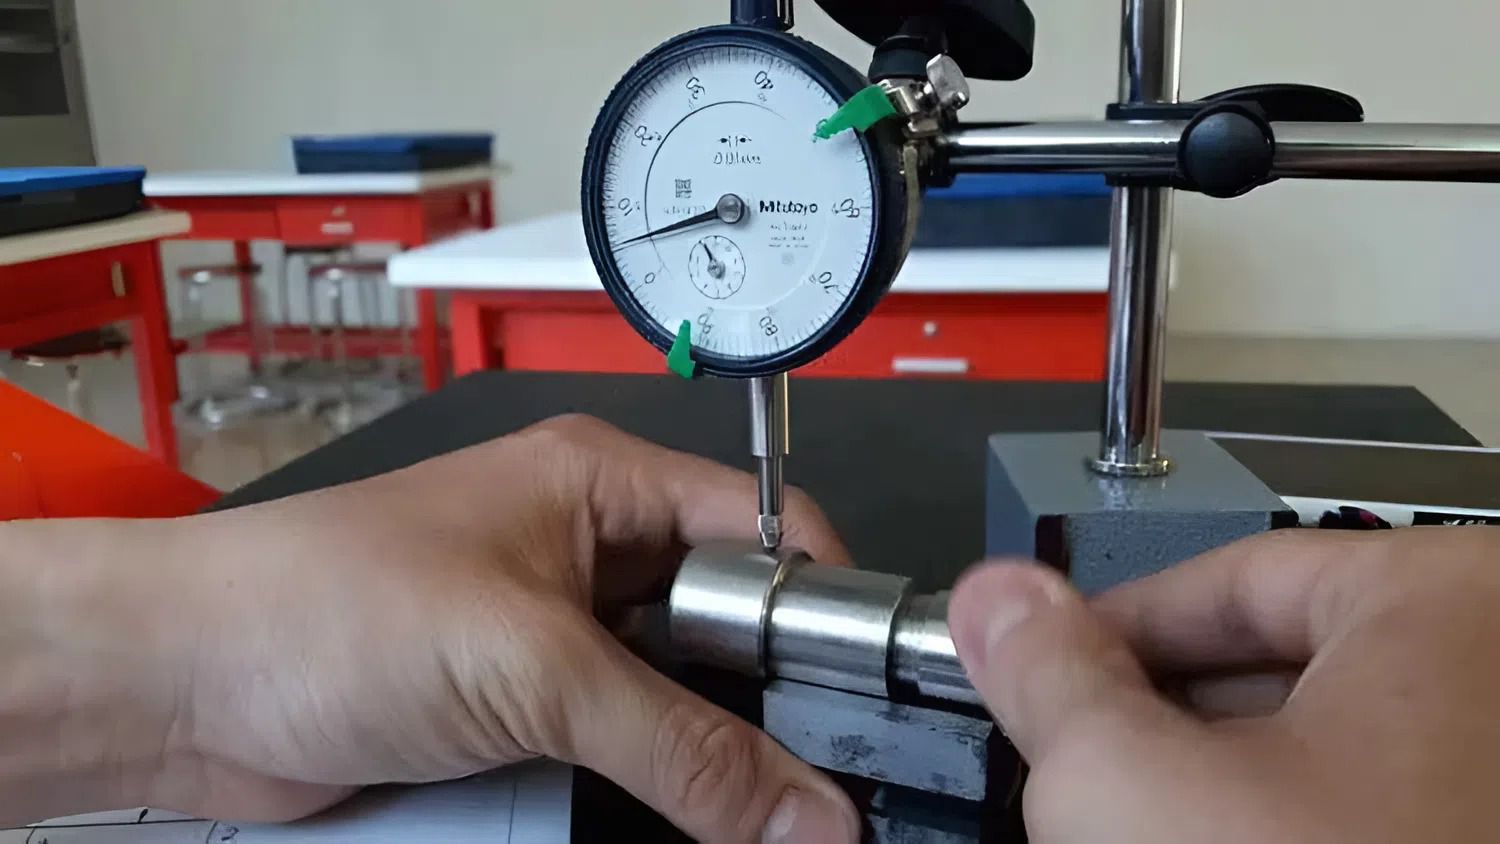
Another application is measuring the depth of a hole. Before measuring, the dial must be set to zero to avoid errors. Then place the probe at the bottom of the hole and read the displayed value. For example, if the small dial shows 1 mm and the large dial shows 0.27, the result is 1.27 mm. With a digital dial indicator, the process is even simpler: just observe the value shown on the LCD screen. This is also why many technicians choose models like MITUTOYO 2046A to speed up their work and minimize manual calculation steps. Additionally, other options such as INSIZE or the digital series from MICROTECH can also be considered.
Important Notes During Operation
To ensure accurate results, the dial indicator must be handled gently, avoiding strong impacts on the probe. Users should not press the probe directly by hand, as it may cause the needle to jump incorrectly. It is also necessary to check the indicator before use, mount it properly on the stand, and set both the small and large dials to zero. During measurement, make sure the probe remains in stable contact with the surface of the component.
Proper storage is equally important. The dial indicator should be kept in a protective case, away from humid environments. Do not disassemble or reassemble its parts without proper knowledge, as it may cause damage or measurement errors.
Identifying Dial Indicator Errors and How to Fix Them
During use, many people encounter situations where the dial indicator provides unstable or inconsistent results compared to the actual dimensions. Common causes include previous impacts, a needle stuck due to dust, or simply forgetting to reset the dial to zero before measurement.
One of the easiest ways to detect an error is when you measure the same component at different positions but get significantly different results without logical reasons. Or when returning the indicator to its starting position, the needle does not align with zero. These are signs that the indicator is out of calibration.
To fix this, clean the probe and the contact surface before measuring. If the indicator has been in use for a long time, it should be inspected and recalibrated with specialized tools or sent to a service center. More importantly, avoid dropping or subjecting the device to strong impacts, as even a minor collision can alter the internal mechanism.
How Long Does It Take Beginners to Master Reading a Dial Indicator?
For those new to mechanics, reading a dial indicator often feels intimidating at first. Not because the tool is too complex, but because users are not yet familiar with coordinating hand movements and eye observation.
In reality, with proper guidance and frequent practice, beginners can understand basic readings in just a few days to a week. However, achieving true proficiency being able to read quickly, recognize unusual deviations, and apply the indicator flexibly in various situations usually requires several months of hands-on experience in a real working environment.
What truly matters is not the exact amount of time but patience and consistent practice. Like any other professional skill, familiarity grows with use, and every measurement becomes both a technical operation and an accumulation of experience.
See more: Structure of a Dial Indicator to better understand this mechanical tool.
Conclusion
Understanding and using a dial indicator correctly will make mechanical inspection faster and more accurate. Once you master the basic operations, you will realize that reading and using a dial indicator is not as complicated as it first seemed. This is an essential skill that every mechanical technician should develop to ensure machining quality.
-
-
-
-
-
-
-
-
-
-
-
-
-
-
-
-
-
-
-
-
-
-
-
-